If you ask me, a bare wall is a real eyesore. Without forgetting how it can downgrade the aesthetics of your interiors.
Don’t want to live in a plain white box? Well, we’ve got some fantastic ideas to spruce up your space with these creative DIY ideas.
#1. Paper Cherry Blossoms


Currently, paper is my favorite, what can I say, craze?
I’m going super crazy with all the craft ideas my brain’s been receiving. And, all of them include paper as the main ingredient.
You can do anything with this magical material – from colorful bouquets that will never wilt to unique paper wall art.
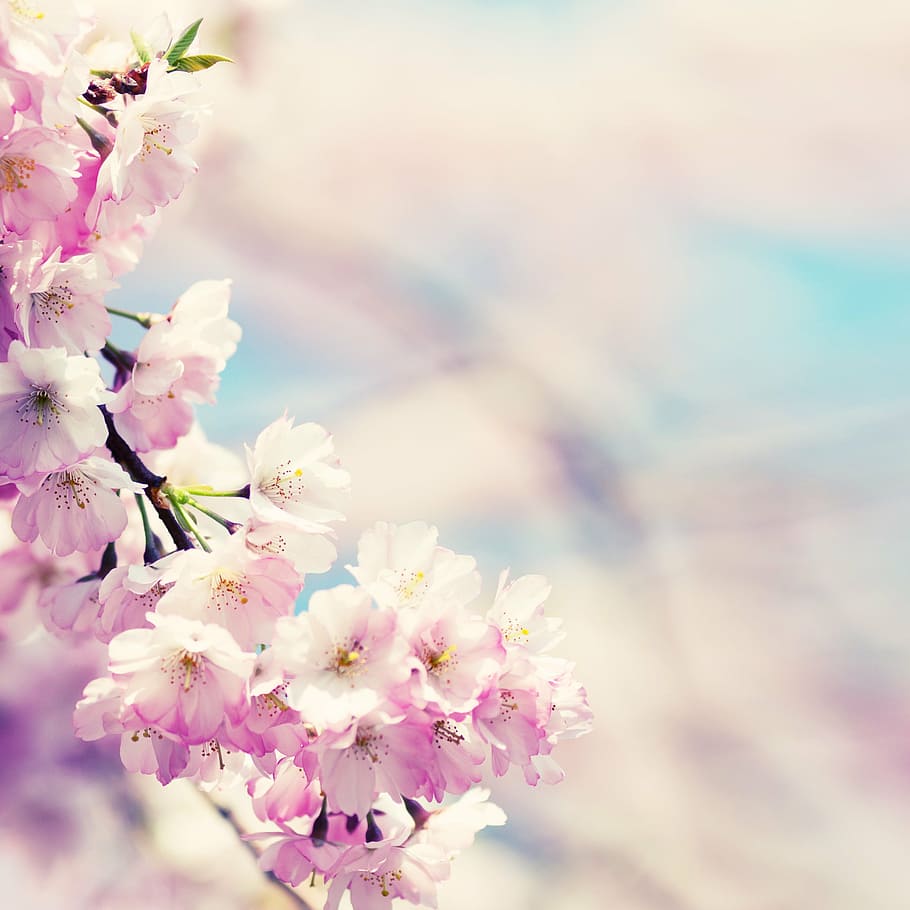
My recent creation includes anything with tissue paper cherry blossoms.
Materials you will need:
- Tree branches
- Tissue paper (A few sheets only are not going to be enough. I used at least 60 sheets)
- A pair of scissors
- Scotch Tape
- Fishing line (this one’s optional as it depends entirely on how you want to depict the branches.)
Instructions:
Step 1: Cut the tissue paper into squares and try to lay them out in the shape of David’s star, or as you know it, like a hexagram.
Step 2: Compress them in the middle to form a light crease, then tweak in the other direction.
Step 3: Then, twist the pinched parts to form a “stem.”
Step 4: Fix a small piece of scotch tape to the edge of the stem (once all the blossoms will be fastened together, the tape won’t be noticeable at all).
Step 5: Wrap the tape around a side shoot of the branch to secure the blossom.
Step 6: Now, repeat, repeat and repeat the process.
The end result: a beautiful room graced with the presence of sweet suspended handmade blossoms.
#2. Create Your Own Porcelain Gallery

Why let the rich China collection lie somewhere in your kitchen cabinets?
I suggest creating a comprehensive classic gallery wall look.
Instructions:
Step 1:
Find the bare section of the wall where you want to hang your plates collection and measure the backdrop.
Step 2:
Taking your measurements as a guide, arrange your plates on the floor or any flat surface and move them around until you obtain the layout you want.
Here’s a precious tip: Suppose you are using plates of different sizes and shapes. It’ll be nice if you place the large pieces towards the bottom so the arrangement doesn’t feel too heavy and dull.
Step 3:
With blue painters tape, transfer the arrangement on a table. Now, up to you, whether you’ll find it easier to measure the placement of the centerpiece and then to work out from there for the others, mapping out the distance between each plate and its size to get a mock-up on the wall.
Step 4:
Plates do not come with a wire or hanger, so you would need to get plate hanging wires and attach them to your plates.
Step 5:
Time to hang your plates. Start one by one and measure the distance from the top of the plate to the wire that will catch on the hook behind it, then insert a hook into the wall that same place on your taped outline of the plate.
#3. Geometric Painting


The thing that I really love about this project is that you don’t need to be good at painting, all it really involves is having fun while combining bold colors. With this technique, you will have so many opportunities to create the right color palette.
Instructions:
Step 1:
Using Adobe Illustrator, try to create a sketch based on your taste and preference, and adopt the color combination that makes you happy.
Step 2:
Then off to a local art store and buy acrylic paint, canvas and some painters tape.
Step 3:
That’s the fun section, where it might take a few hours, yes, but you will enjoy splashing colours here and there.
Now, you tell us: how creative can you be? What is your ideal DIY wall art that can boost the appearance of your four walls?


