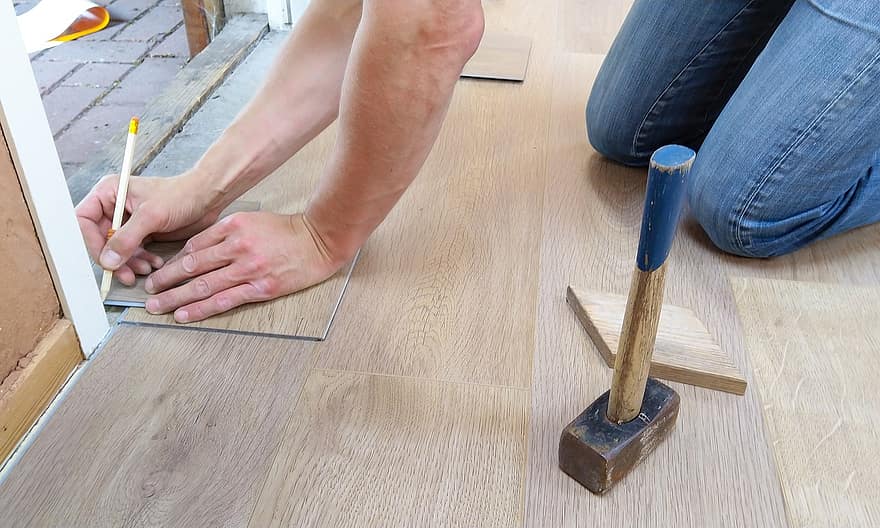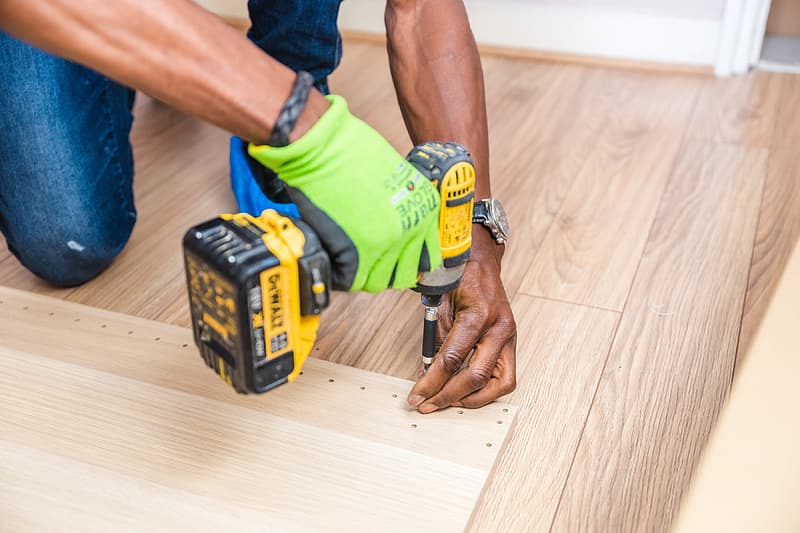
Laying a floating or clip-on engineered floor is an affordable technique for a DIY enthusiast. On the other hand, a nailed or glued installation requires real technical know-how. In this case, it is preferable to call upon the expertise of a professional installer.
If you have good DIY skills and the right tools, you can lay parquet yourself. Here are some essential points to consider if you want to do it yourself.
What are the disadvantages of laying parquet yourself?
Keep these three main disadvantages in mind:
– Difficulty: laying a parquet floor, like any floor covering, requires you to be crouching or kneeling all the time. The posture is demanding in the long run for the lumbar vertebrae. In addition, you may have to carry heavy materials if it is solid wood.
– Careful: laying a parquet floor requires precision and patience because it is very demanding.
– False savings: you don’t pay for the services of a fitter but you have to pay for the supply of parquet, the purchase of glue (if glued down) and the necessary tools.
What materials and tools do you need?
The specific tools needed to lay parquet depend on the laying technique used:
– For a nailed installation, you particularly need a flooring nailer, flat-head or man-headed nails and a nail punch. The use of a nailer allows you to have a regular and efficient result without damaging the boards.
– For glued installation, you will need parquet glue and a serrated or notched spatula.
– Finally, a floating installation is a simple technique that requires little specific equipment. A parquet assembly bar can be useful to precisely wedge and fix the glued parquet floorboards.
How to install parquet?
Before laying parquet, remember to check certain essential prerequisites:
– The surface must be flat, clean and perfectly dry. The humidity of the substrate must be less than 3%. Check the humidity level with a hygrometric probe.
– The parquet must be stored flat in the room to be parqueted, in its original packaging, for at least 48 hours before starting to lay. Open the packet just before starting installation.
– As each strip of wood is unique, make sure you mix the parquet strips from different packages to harmoniously arrange colour variations and knots.
How to lay solid or glued parquet?
Be aware that solid or glued parquet are not laid in the same way. all you have to do is to lay it down! Be aware that these two types of parquet flooring are not laid in the same way. Nailed parquet installation is only suitable for solid parquet, whereas floating or clipped parquet installation is only suitable for glued parquet.
Here are two practical sheets to help you in your work:
– Laying solid parquet
– Laying engineered parquet
How to lay nailed, glued or floating parquet?
Each of the three installation techniques (nailed, glued, floating) has its own characteristics, advantages, disadvantages and limits. Not all techniques are adapted to your context: it all depends on the type of parquet chosen and the constraints of the room.
Here are three practical sheets to help you with your work:
– Laying nailed parquet
– Laying glued parquet
– Laying clip-on floating parquet
Why do you need a professional?
Laying parquet requires specific know-how and technical knowledge, especially if you choose a demanding material and type of installation (glued or nailed).
Who do you call on to lay your parquet floor?
Make sure that you choose a specialized company with sufficient experience and the necessary insurance to carry out your work with complete peace of mind;
Do not hesitate to ask for references and photos of the work carried out from the various companies or craftsmen you contact;
Have several quotes made to compare the services, comparing only what is comparable!


