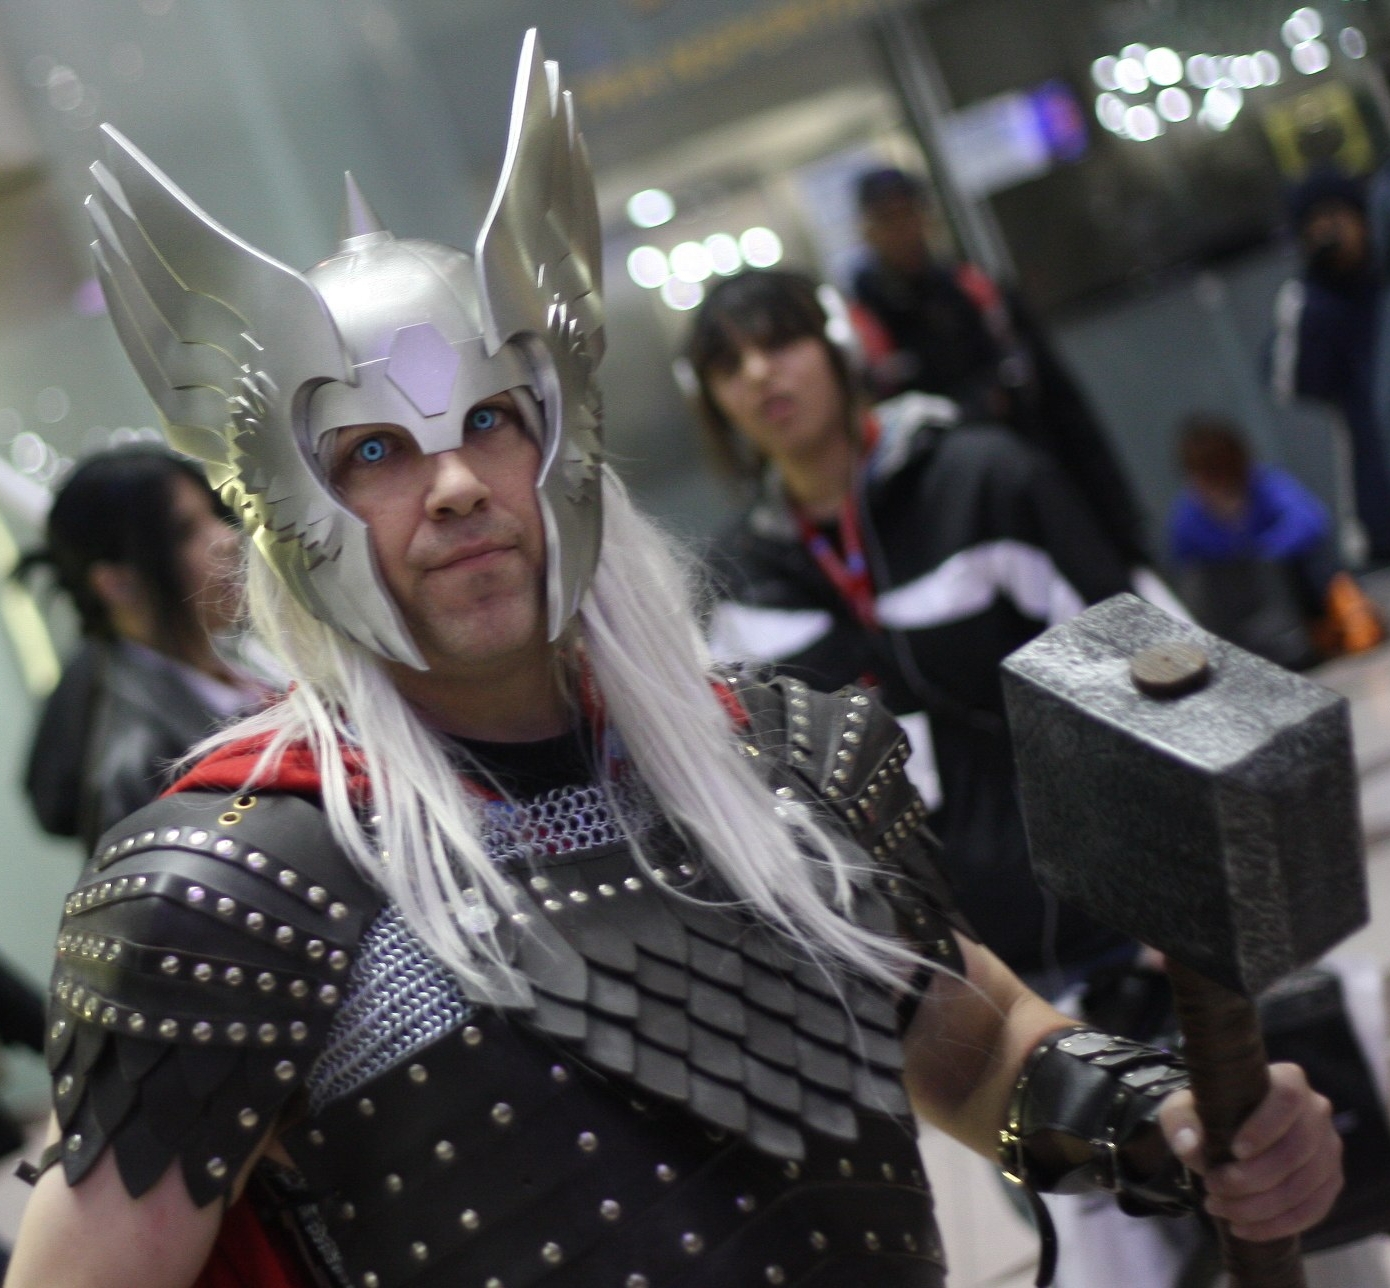
Thor, the Asgardian God of Thunder, with his long blonde hair and muscular body, is the dream Mr Right of all women and personally, I would have no problem to leaving my husband for him.
Today, this article is for all those little Avenger fans who dream of having their own Thor costume. So, parents, if you follow my guidance, your child will be the envy of their friends in this incredible superhero costume.
Materials you will need:
- Craft foam
- PVC pipe
- Paper
- Velcro strips
- Duct tape
- Safety pins
Instructions for your No-Sew Thor Costume:
Step 1: Start by making an appropriate plan and finding photos of the Avenger. Then, make sure that you have all the necessary equipment.
Step 2: You will need to create a drawing of what you want to cut out of the foam. You might find it easier to draw on 11×14 paper then cut them out. Then with a packing tape, stick the drawings together. Try it on your model and if it doesn’t fit quite right, try to modify the design.
Step 3: Now, draw half of the front armour and place the two sheets together when you cut it out. This way, you will get a mirror opposite that you can quickly stick together. After tracing the drawing onto the foam sheet, cut out the pattern.
Step 4: To get started on the armour, you can either use internet templates or make your own. For instance, for the chest piece, tape the three layers together on the inside. Now to attach the grey detail pieces, use contact cement and glue them on. But if you are going to use contact cement, it is essential to follow certain guidelines and be very cautious because if you do not use it properly, you will ruin the costume.
Step 5: Repeat the same process on the back. Cut out the back shapes and stick them back together along the centre. After gluing the side pieces to the backplate, using a duct tape, attach the back and front pieces at the shoulders. And now to secure the sides of the armor together, use the two long side pieces that are fixed to the back. Wrap them around to the front and connect with the glued ones on Velcro strips.
Step 6: To make the shoulder pads, roll up foam and tape it properly so it would not unroll. Then, stick them to the outside of the armour. Remember that they should be on top of the armour. The next step consists of attaching the cape to the shoulder pads. But for the cape, you need to measure and cut it according to your kid’s height. Cut out the cape’s neck area and wrap each side around the shoulder pads and use safety pins to keep it in place. And if you want, you can sew the edges but I don’t suggest it as it will take much of your time.
Step 7: Time to prepare Thor’s helmet, which in my opinion, is the toughest step in this whole costume-making process. Download and use a template from the Internet. Then, measure the circumference of your child’s head just above the eyebrows. For example, the template I used was around 22 inches. Of course, based on the measurement you obtained, you will need to enlarge or reduce the template.
Step 8: I recommend making the helmet 1 or 2 inches larger than your child’s head size. Some of the best tips that I can give you are taking your time taping this together and using a lot of tapes. The helmet will pull apart more than the costume. For a more permanent solution, try to tape it from the outside. Then, cut two by 4-inch strips of foam. Using the contact cement, glue the strips on the inside of the helmet. Once it’s dry, remove the tape from the outside. But if you don’t cement the entire seams, you may still need to add tape on the inside. Once the helmet is assembled, add the wings by using contact cement.
Will you create this superhero costume for your little man? Please share your comments!


