You’ve just moved into your first apartment or house and are learning the joys of do-it-yourself projects! You are unaccustomed to working in general, even minor chores, and needing to borrow the tools you require every weekend from neighbors or friends is beginning to wear you down.
It’s time to invest in some basic, high-quality equipment that’s tailored to the chores you’ll be doing at home regularly or shortly. Kit furniture assembly, shelf installation, curtain rod or blind installation, and picture hanging are all tasks that appear simple yet require only a few essential tools.
There’s no reason to be concerned! We will assist you. After reading The Essential Craftsperson Tools (Part 1), here are the three key items you’ll need to get started with DIY at home.
Essential DIY tools
1. Wrenches
Wrenches are used to tighten bolts, nuts, or screws with specific heads.
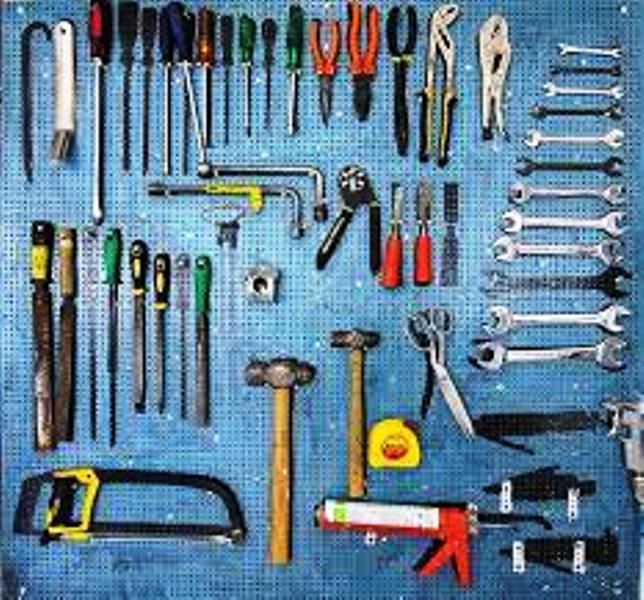
– The open-end wrench is often sold in a box and has a metal fork at each end corresponding to two different nut sizes. For example, in a set with sizes 2 to 18, you will have a set of 9 wrenches. They are handy for plumbing work.

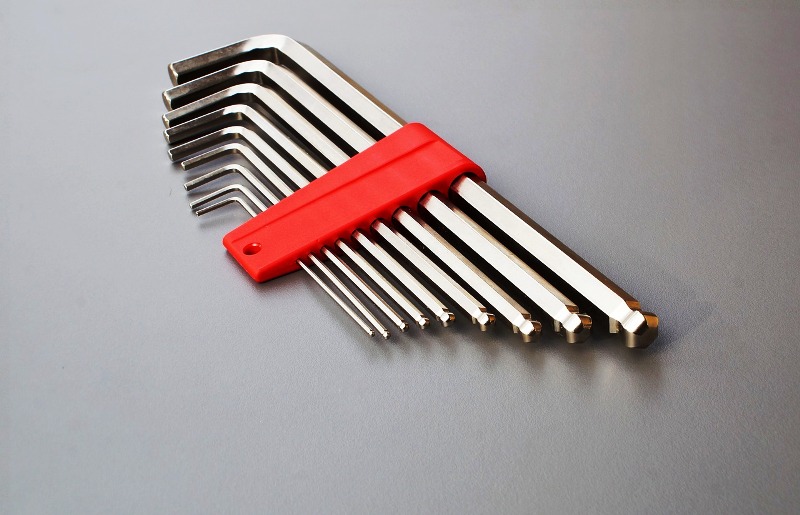
– The Allen wrench comes in the form of an angled rod. It is used when assembling kit furniture, having a head with a hexagonal hole that can only be tightened with a wrench of this type. It is usually sold in sets.
– The wrench is the most versatile. Its tightening system adapts to different sizes of nuts. It is the basic tool in your toolbox with flat wrenches.
You can find flat wrenches at $2 for a single wrench ($40 for a high quality set in forged steel), Allen wrenches at $2 each ($10 for a complete set) and adjustable wrenches between $10 and $30.
Good to know: furniture kits are often supplied with the Allen key corresponding to their assembly. Don’t forget to keep it and check the tightness after a few months of use.
2. The tape measure
In DIY, it is inevitable and essential to take measurements. Whatever its form, you can’t do without it:
– the rigid tape measure (or tape measure) with reel, convenient, it is found from 2 to 8 m long;
– the folding tape measure (or carpenter’s tape measure), the most suitable for measuring heights;
– the laser meter (or laser rangefinder), the latest arrival on the market, is very precise.
You will find them at a price varying from $2 to $40 for the classic models and from $20 to $180 for the models equipped with a laser.
3. The level
This ruler allows you to check surfaces’ perfect horizontality or verticality, thanks to a bubble to be positioned between two lines. This tool will be handy when drawing a straight line, such as putting up wallpaper or a wall shelf. There are 2 types of models:
– the spirit level, which exists in different sizes;
– the laser level, with electronic bubble or line, which is even more precise.
You should count between $3 and $5 for the first one and $25 for the laser.
4. The cutter
The cutter is also an essential tool to have in your box. Opening a resistant packaging, cutting a floor covering in roll or a strip of wallpaper… So many situations for which you will be happy to have it at hand! For your safety and that of your entourage, I prefer it with a retractable blade.
Then, and according to your needs, there are several types of cutters (between $1 and $20, depending on their robustness):
– the classic cutter, straight, for all jobs;
– the rotary cutter, convenient for long cuts, such as those on floor coverings;
– the corner cutter, to cut, without tearing, wallpaper or tapestry in the corners of a room;
– the circular cutter for cutting plasterboard.
A lil piece of advice: start by purchasing a classic cutter, and don’t forget to bring a set of spare blades.
If you enjoyed this post, the 3rd part is for you! Also, don’t forget to leave your feedback…


3 thoughts on “The Tools Every Craftsperson Should Have (Part 2)”