How to Ferment Your Vegetables: A Beginner’s Guide to Deliciously Preserved Goodness
Fermenting vegetables is an ancient practice that not only extends their shelf life but also enhances their flavor and nutritional value. If you’ve ever wondered how to harness the power of fermentation in your own kitchen, you’ve come to the right place! In this beginner’s guide, we’ll explore the simple and rewarding process of fermenting vegetables. From selecting the right vegetables to mastering the art of flavor combinations, get ready to embark on a tangy, probiotic-rich goodness journey that will elevate your culinary creations.
1. Choose Your Vegetables
The first step in vegetable fermentation is selecting the freshest produce. Opt for organic vegetables whenever possible, as they are free from chemical residues that may interfere with fermentation. Popular choices for fermentation include cabbage, carrots, cucumbers, radishes, and bell peppers. Wash the vegetables thoroughly, removing any dirt or debris.
2. Prepare the Vegetables
Once you’ve selected your vegetables, it’s time to prepare them for fermentation. Start by cutting or shredding the vegetables into small, uniform pieces. This helps facilitate the fermentation process and ensures the even distribution of flavors. You can experiment with different shapes and sizes to find what suits your taste preferences.
3. Create a Flavorful Brine
A key element in vegetable fermentation is the brine, which acts as a preservative and creates an environment for the beneficial bacteria to thrive. Dissolve 1-2 tablespoons of salt in a quart (4 cups) of filtered water to make a basic brine. You can adjust the saltiness to your liking, but remember that salt inhibits the growth of harmful bacteria.
To enhance the flavor profile of your fermented vegetables, you can get creative with additional ingredients. Experiment with spices, herbs, and aromatics like garlic, ginger, dill, or chili peppers. These additions infuse unique flavors and offer additional health benefits and antimicrobial properties.
4. Pack and Ferment

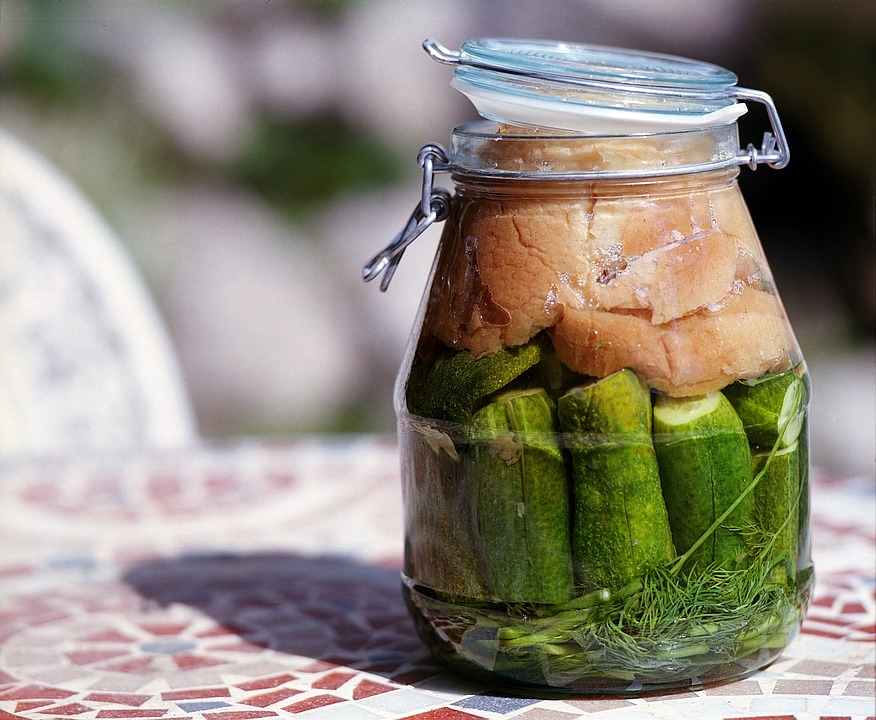
Now it’s time to pack your vegetables into a fermentation vessel. Use a clean glass jar or a dedicated fermentation crock. Start by adding a layer of vegetables to the jar, then pour enough brine to cover them completely. This helps create an anaerobic environment, preventing the growth of undesirable bacteria.
You can use fermentation weights or even clean, food-grade stones to submerge the vegetables in the brine. Make sure the jar is tightly sealed to maintain an oxygen-free environment.
Place the jar in a cool, dark place, like a pantry or basement, and let nature work its magic. Fermentation times can vary depending on factors such as temperature, vegetable type, and personal preference. Most vegetables require at least a week to develop their distinctive flavors. Taste test along the way to gauge the desired level of tanginess. Once fermented to your liking, transfer the jar to the refrigerator to slow down the fermentation process and enjoy your delicious, homemade fermented vegetables.
5. Patience and Storage
Fermentation is a process that requires patience. Secure a lid or use a fermentation airlock to allow gases to escape while preventing oxygen from entering. Place the jar in a cool, dark place, like a pantry or basement, and let nature work its magic. Fermentation times can vary, but most vegetables require at least a week to develop their distinctive flavors. Taste test along the way to gauge the desired level of tanginess.
Congratulations! You’ve learned the basics of fermenting vegetables. With a little practice and experimentation, you’ll be able to create an array of delicious and probiotic-rich fermented vegetables right in your own kitchen. Enjoy the tangy flavors and numerous health benefits as you embrace this age-old preservation technique.


